

Connecting your Smart TV to a home theater system is usually pretty simple once you know which ports your devices use. Most TVs and receivers can be connected using one of the three methods below, starting with the setup most modern systems use for the best sound and easiest experience.
HDMI ARC or eARC (Recommended for most systems)
If your TV and receiver were made within the last several years, HDMI ARC or eARC is probably the simplest way to connect them. ARC (Audio Return Channel) lets your TV send audio back to your receiver or soundbar using a single HDMI cable, helping reduce cable clutter while giving you better audio quality. Here’s the step by step:
- Locate the HDMI port labeled ARC or eARC on both your TV and receiver.
- Connect the devices using a High-Speed HDMI cable.
- Open your TV’s audio settings and change the sound output from TV Speakers to your receiver, soundbar, or external audio system.
- Enable HDMI-CEC, which allows your devices to communicate with each other and often lets you control volume with a single remote.
Depending on your TV brand, HDMI-CEC may appear under different names: SimpLink (LG), Anynet+ (Samsung) or Bravia Sync (Sony). If you’re connecting a Smart TV to a modern home theater system, this is usually the method you’ll want to use.
Digital Optical Connection (Toslink)
If your equipment doesn’t support HDMI ARC, no worries, an optical cable is still a solid way to get digital audio from your TV to your receiver. Here’s what you need to do:
- Find the Optical Out or Digital Audio Out port on your TV.
- Connect the cable to the Optical In port on your receiver.
- Remove the small protective caps from both ends of the cable before plugging it in.
- Open your TV’s audio settings and select Optical or Digital Audio Output.
If you don’t hear sound right away, changing the audio format to PCM usually fixes the issue. While optical connections work well for most setups, they don’t support some of the newer audio formats that HDMI eARC can handle.
RCA Connection (Older Systems)
Older receivers may only support RCA audio connections using the familiar red and white audio ports. This method still works, but it only provides stereo sound instead of full surround sound. Here’s what you can do:
- Locate the red and white Audio Out ports on your TV.
- Connect them to the matching Audio In or AUX ports on your receiver.
- If your TV only has a headphone jack, you may need a 3.5mm-to-RCA adapter cable.
- Select AUX or Line In on your receiver after everything is connected.
Pro tip: If you’re getting a picture on your TV but no sound through your speakers, double-check that your receiver is set to the correct input source. Whether you’re using HDMI, Optical, or AUX, choosing the wrong input is one of the most common reasons a home theater system won’t play audio.
Still need help?
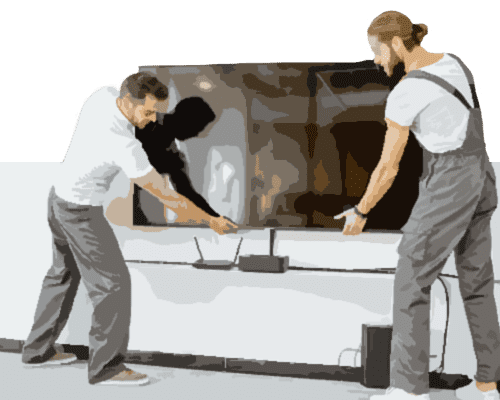
We know, setting up a home theater system can be frustrating, especially if you’re not very tech-savvy. That’s why Geeks on Site is here to help. Our technicians can come to your home or office anywhere in the country to install and configure your system, so you can start enjoying it without having to figure everything out on your own.
Home theater setup services start at just $139 and include a 7-day service warranty. Call (888) 368-8442 to schedule your appointment.
If you’re connecting a brand-new console, here’s our complete guide to setting up your gaming console from the start.