TL;DR: You don’t need your TV’s original legs to use it safely. You can replace them with a universal TV base, a swivel tabletop TV stand, a floor TV stand, or skip the stand altogether with a wall mount. If you enjoy a hands-on project, you can also build a simple TV stand that connects to the screen through its VESA holes. The best option depends on your space, whether you’re renting, and how permanent you want the setup to be.
In this guide:
Broken legs, missing hardware, or just a TV that never came with a stand in the first place. Whatever brought you here, you’re not stuck buying a whole new entertainment center or TV unit to fix it. There are many solid ways to set up a TV without its original legs. Some tabletop options take less than 20 minutes and require little more than a screwdriver, while wall mounting takes more planning, tools, and time.
In this guide, we’ll walk you through the four most reliable options, from the easiest tabletop swap to a full wall mount, so you can pick whichever fits your space, your budget, and how much drilling you’re willing to do. We’ll also share a few DIY ideas if you’d rather build a TV stand yourself, plus the safety details that can help keep your setup stable and your entertainment area safer.
How can you stand a TV without legs?
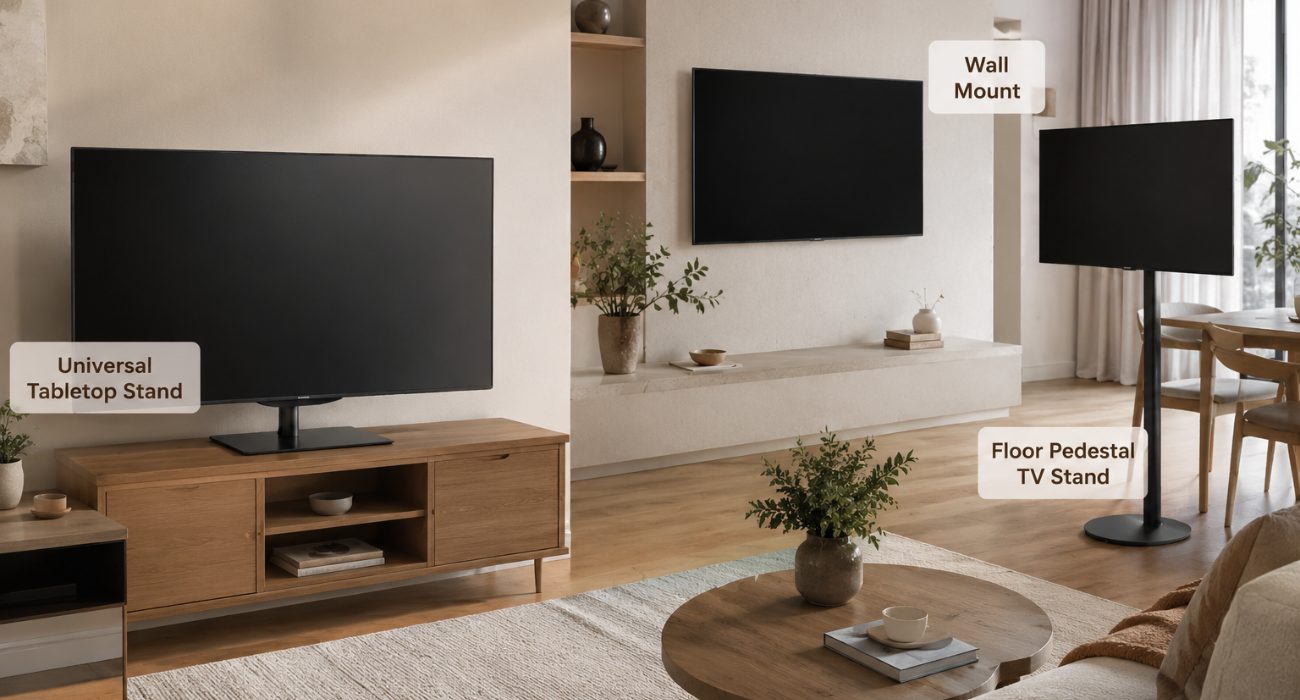
If your TV no longer has its original legs, you can support it with a universal base, a swivel tabletop TV stand, a floor TV stand, or a compatible wall mount. Below, we compare all four options, including their pros and cons, the tools you’ll need, and the basic installation process. Every one of these solutions attaches to the same VESA holes on the back of the TV, so the right pick mostly comes down to your room, your furniture, and how you like to watch TV.
1. Universal TV base
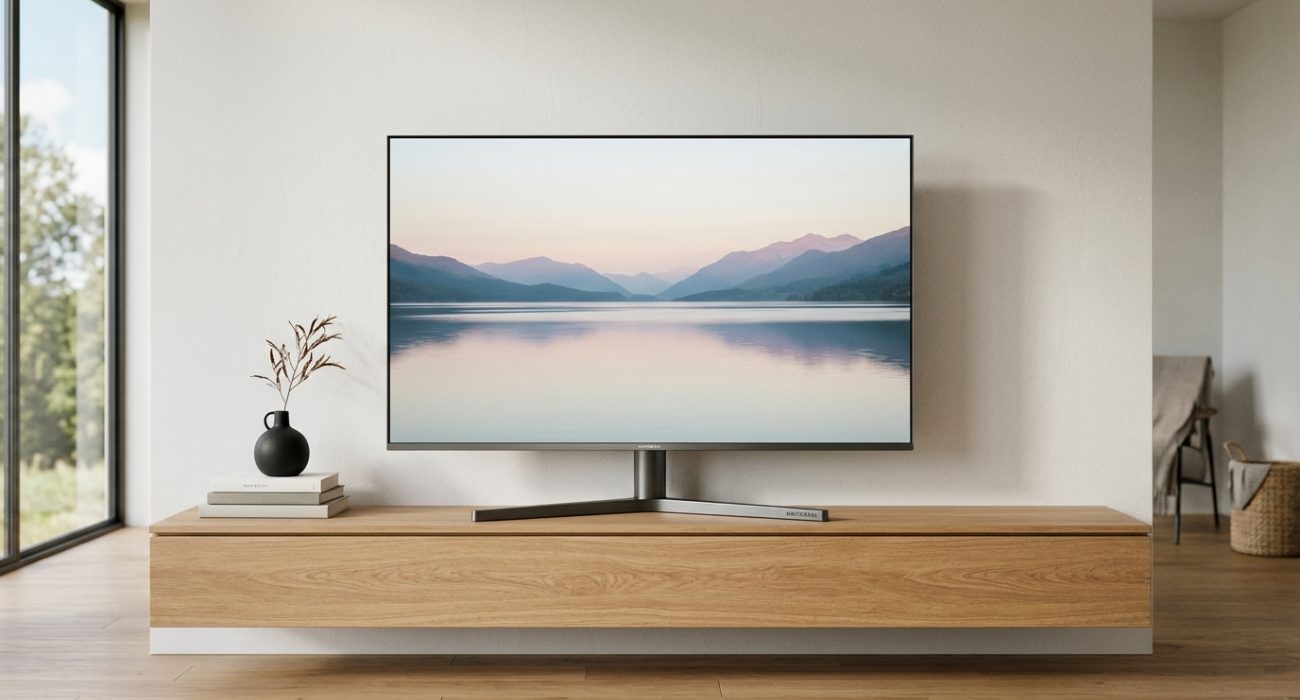
If you’re looking for the easiest fix, a universal TV base is usually the way to go. It’s especially useful if you rent your home, don’t want to drill into the wall, or simply prefer keeping the TV on your media console or TV unit.
These TV stands are designed for TVs that have lost their original legs or never came with them. Instead of using the factory feet, the base attaches to the VESA mounting holes on the back of the TV and supports it with a sturdy center column, which keeps the weight centered over your console.
✅ Pros
- No drilling into the wall.
- Installs in about 10 to 15 minutes.
- Many models let you adjust the height and tilt the screen slightly for a better viewing position.
- Works with most TV brands, as long as the VESA pattern matches.
- Keeps the TV looking close to normal, with a low-profile setup that resembles the original TV legs.
✏️ If you’re not sure what that means, learn how to check if a TV mount is compatible with your screen before buying a stand.
⛔ Cons
- Takes up more room on your TV console than the original legs did.
- You do need to double-check your TV’s VESA pattern and weight limit before buying, since not every base fits every screen.
- Most don’t swivel unless the listing says so specifically.
Tools needed: a screwdriver.
🧐 How to install it
- Remove the original TV legs if they’re still attached. Keep the old legs and screws in a bag in case you want to reinstall them later. If they’re already missing, you can skip this step.
- Lay the TV face down on a soft surface, like a blanket or towel, to help protect the screen while you work.
- Attach the mounting brackets to the VESA holes on the back of the TV. Make sure you’re using the correct screws that came with the stand. Start each screw by hand so you don’t strip the threads.
- Secure the center column to the mounting brackets, then attach the base according to the manufacturer’s instructions.
- Place the TV upright on your console or table and check that it feels stable and sits level before letting go. If the stand has adjustable height settings, make any final adjustments now.
2. Swivel tabletop TV stand
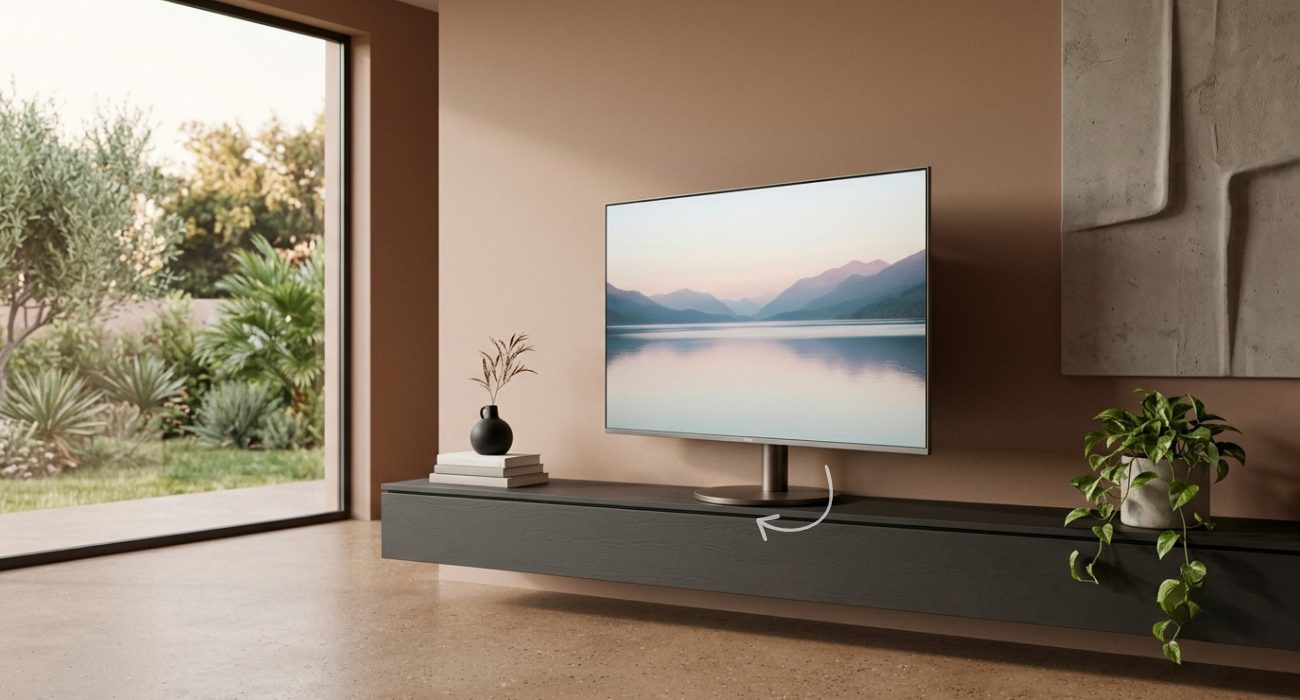
This one works almost the same way as the universal base, but it adds a swivel mechanism, so you can turn the screen toward wherever people happen to be sitting without dragging the whole TV across the room.
For example, if your living room opens into the kitchen, you can rotate the TV toward whoever is cooking without moving the furniture. It’s also handy if you regularly rearrange seating when guests come over to watch the game or a movie.
✅ Pros
- Rotates left and right without moving the base.
- No wall damage.
- Just as easy to install as a fixed stand.
- Great for open-concept layouts.
- Some models also tilt a few degrees, giving you more movement when adjusting the viewing angle.
⛔ Cons
- Usually costs more than a fixed tabletop stand.
- Adds a bit more height under the TV.
- How far it swivels depends on the model, so check the degree range before you buy.
- Each swivel stand is designed for a specific weight range, so larger TVs need a heavier-duty model.
Tools needed: a screwdriver.
🧐 How to install it
- Place the TV face down on a soft blanket or towel, making sure the screen is fully supported.
- Attach the vertical brackets to the VESA mounting holes using the screws and spacers recommended for your TV.
- Connect the brackets to the stand’s center column, then secure the column to the swivel base.
- Lift the TV upright and place it on the console. Larger screens are much easier and safer to handle with a second person. Center the base on your TV stand or console so the weight stays in balance.
- Test the swivel range slowly and make sure the screen does not hit the wall, nearby décor, or any connected cables. Leave enough cable slack so nothing pulls loose when you rotate the screen.
3. Wall mount
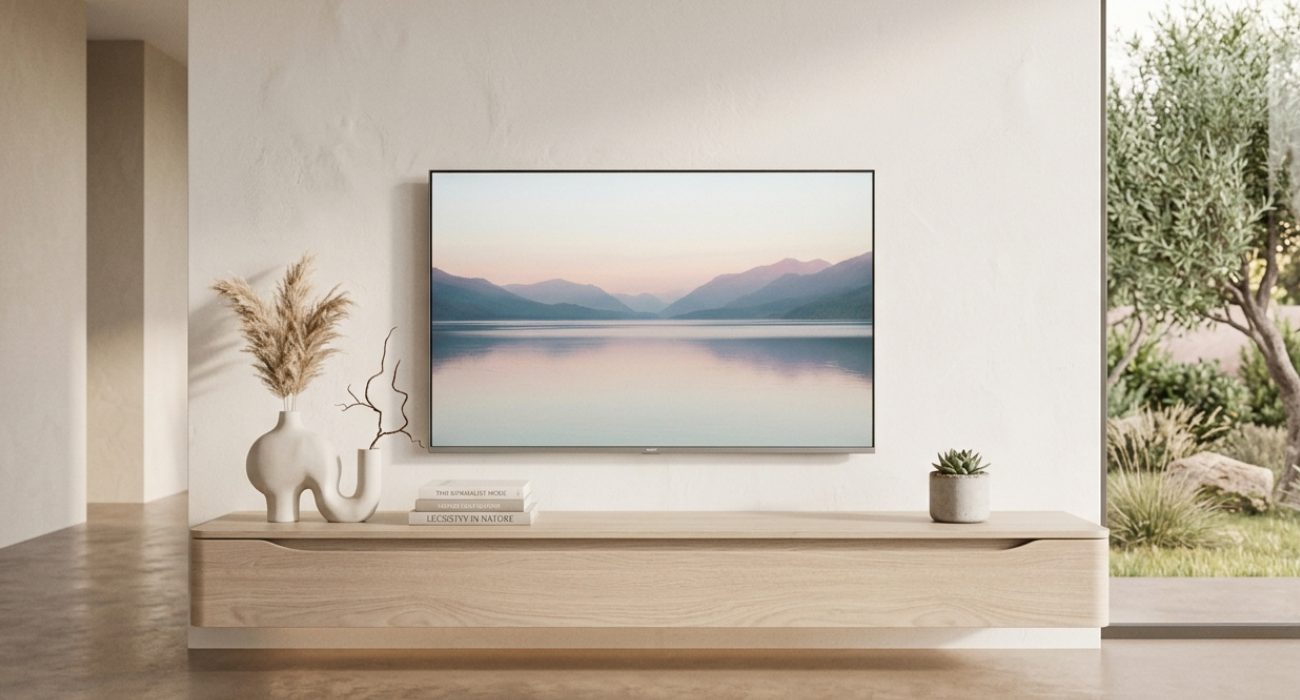
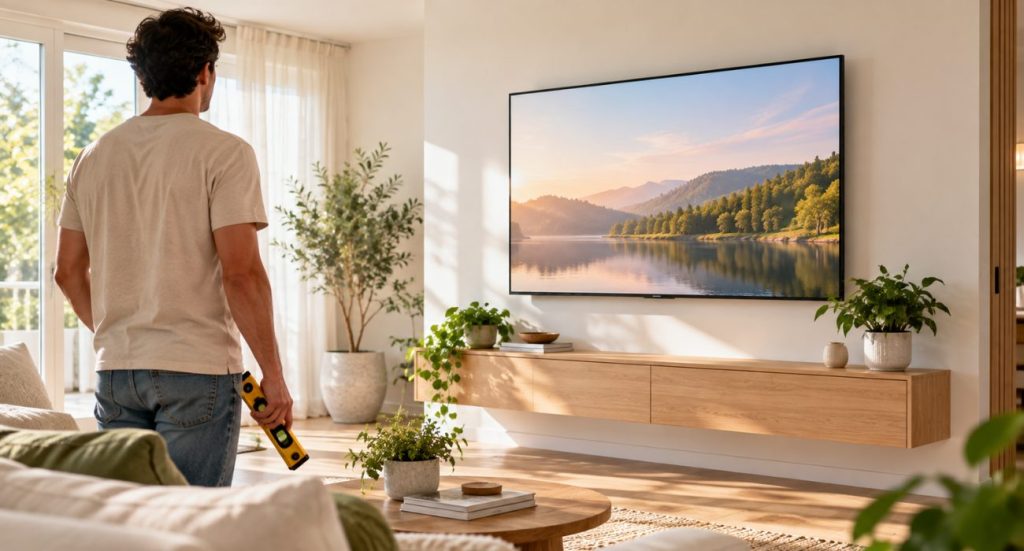
If your goal is a clean, modern look with nothing taking up floor or console space, mounting the TV on the wall skips the leg question entirely. Instead of supporting the TV on a piece of furniture, the wall becomes the support.
Wall mounts come in three basic styles. Fixed mounts hold the TV flat against the wall for the most minimal look. Tilting mounts let you angle the screen downward (most offer somewhere between 5 and 15 degrees of tilt), which comes in handy if the TV sits above a fireplace or a tall console. Full-motion mounts swing and extend, so you can pull the TV away from the wall and adjust the viewing angle from almost anywhere in the room.
If you have a 55-inch screen and aren’t sure which style to choose, our guide to the best TV mounts for a 55-inch TV can help you compare your options.
A fixed mount works best when you always watch from the same place, like a dedicated entertainment area. A tilting mount is a smart solution for any bedroom or space with window glare, and a full-motion mount gives you the most movement in open layouts or corners.
✅ Pros
- Frees up all your furniture space.
- Clean, modern appearance.
- Keeps the TV off the furniture and farther from curious kids and pets when installed correctly.
- Comes in fixed, tilting, and full-motion versions.
- Tilting and full-motion mounts let you change the screen’s position without moving a single piece of furniture.
⛔ Cons
- Requires drilling into the wall.
- Takes longer to install than a tabletop stand.
- Some rental agreements don’t allow it, so check your lease first.
- A mount installed incorrectly can damage the wall or, worse, the TV itself.
Tools needed: a stud finder, a drill, a level, a tape measure, and a socket wrench or screwdriver. Not sure what each tool is for? Review the essential tools needed to mount a TV before starting the installation.
🧐 How to install it
- Use a stud finder to locate the wall studs. Mark their position with a pencil before you start drilling.
- Hold the wall plate against the wall, use a level to make sure it’s straight, then mark where each mounting hole will go.
- Drill the pilot holes if needed, then secure the wall plate to the studs using the hardware included with your mount. Drive each lag screw until it’s snug, but don’t overtighten it.
- Attach the mounting brackets to the back of the TV, making sure they’re installed in the correct direction and tightened securely.
- Carefully lift the TV onto the wall plate and lock it into place following the mount’s instructions. Having a second person help with this step is a good idea, especially for larger TVs. Once it’s hanging, give the bottom edge a gentle pull to confirm the mount is locked.
In most U.S. homes with drywall, the safest approach is to secure the mount directly to the wall studs. Some mounting systems are designed for other wall types or use specially rated anchors, but you should always follow the mount manufacturer’s instructions and confirm that the hardware is rated for your TV’s weight.
If you’d rather not handle the drilling yourself, our TV mounting service covers everything from stud location to final leveling, and you can check how high to mount your TV for the best viewing height or this complete guide to wall mounting.
4. Floor TV stand: Easel or pedestal
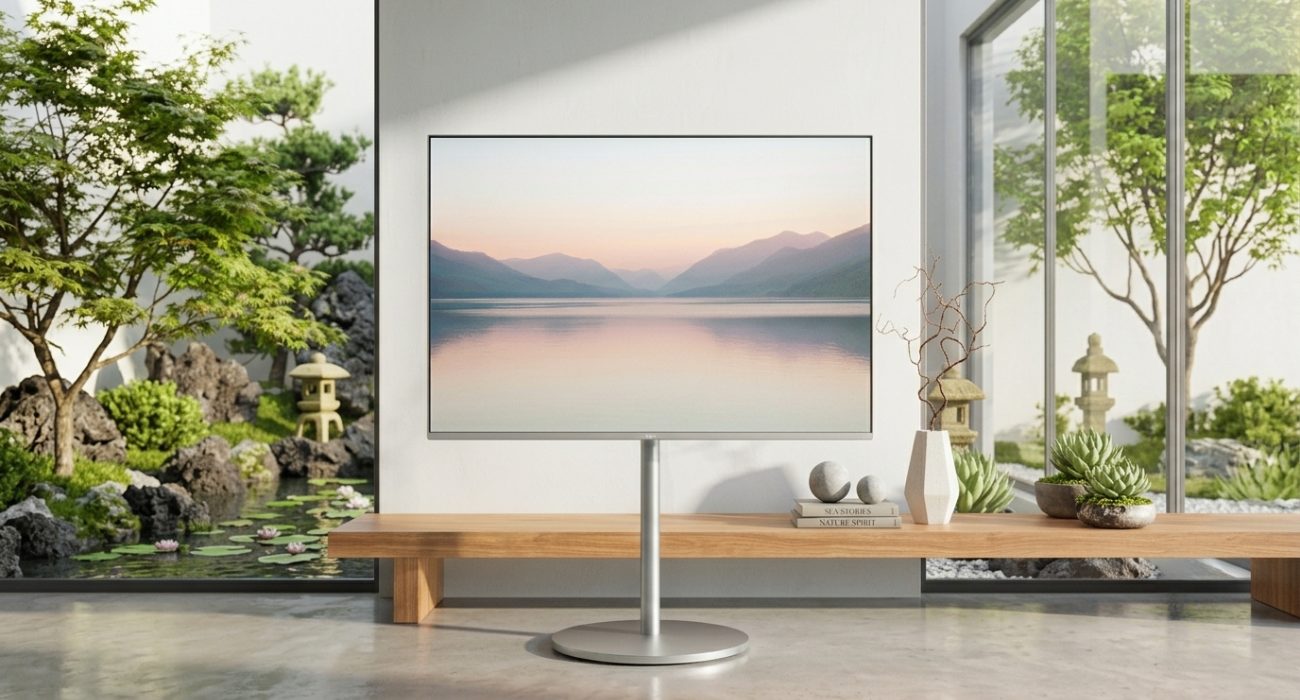
A floor TV stand is the middle ground between a tabletop base and a full wall mount. It supports the TV through the VESA holes just like the other options, but instead of sitting on furniture, it rests directly on the floor, closer to how an easel holds a canvas.
It’s a favorite among renters who want a mounted look without putting a single hole in the wall. It’s also popular in apartments where drilling isn’t allowed or in rooms where you may want to move the TV around later. Many models are designed with a wide, weighted base for stability, and some include a small shelf to hold a streaming box or soundbar.
✅ Pros
- No wall drilling at all.
- Modern, minimal appearance.
- Easy to move to a different room later.
- Doesn’t need a console or table underneath it.
- Easel-style models can be a nice alternative when you want the stand itself to complement a modern living room.
⛔ Cons
- Costs more than a basic tabletop stand.
- Takes up floor space instead of console space.
- Can tip if bumped, unless you secure it properly.
Tools needed: a Phillips screwdriver and an Allen key, both usually included with the stand.
🧐 How to install it
- Assemble the stand’s base and main support according to the manufacturer’s instructions. Most models include all the hardware you’ll need.
- Lay the TV face down on a soft surface, then attach the mounting brackets to the VESA holes on the back of the TV.
- Lift the TV onto the stand and secure it to the brackets. If you have a larger TV, it’s a good idea to have someone help with this step.
- Adjust the height and tilt if your stand includes those features, then make sure the TV sits straight before tightening everything completely.
- Go back and double-check every screw to make sure nothing is loose before placing the TV in its final spot.
Pro tip: If you have young kids or pets at home, consider adding anti-tip safety straps. They’re inexpensive, easy to install, and provide an extra layer of protection if the TV gets bumped or someone accidentally pulls on it. Little ones also like to pull on cords, so tuck cables behind the TV stand and out of reach.
Can you build your own TV stand?
Yes, but the safest DIY route is to build a wood stand that uses a store-bought VESA bracket, instead of making legs that attach to the TV’s plastic frame. The bracket is designed and weight-rated to hold the screen, while the base you build gives you the height and style you want.
If you search for DIY TV stand legs, you’ll usually find two types of projects. The first is a TV stand you build as a piece of furniture, like a low console or riser that supports the TV on its universal base. The second is a freestanding wood pedestal that supports the screen through its VESA holes, much like the floor stands above. Both make a fun weekend project, and you may already have some of the materials sitting in your garage.
What you’ll need
- A VESA bracket or universal mounting plate rated for your TV’s weight and VESA pattern.
- A solid board for the base, such as 3/4-inch plywood or hardwood.
- A 4×4 post (or two 2x4s glued together) for the upright support.
- Wood screws, glue, and metal corner braces.
- Sandpaper, paint or stain, and felt pads to keep the base from leaving a scratch on your floor or console.
How to build it
- Measure three things: your TV’s width, weight, and VESA pattern. Then create a cardboard template of the base so you can see how it fits in place before you cut anything.
- Cut the base wide and deep enough that the TV’s center of gravity sits well inside it. A wider footprint gives you better balance and makes the stand harder to tip.
- Attach the upright post to the base with glue and screws driven from underneath, then add corner braces for extra hold.
- Fasten the VESA bracket to the top of the post and attach the TV following the bracket’s instructions.
- Before you let go, press lightly on each side of the TV. If the stand rocks, adjust the base or add weight to the bottom.
If this is your first woodworking build, a YouTube tutorial on making a VESA TV stand from scratch can show you the cuts and joints step by step. You can also create a custom look with paint or stain that matches your décor, something that can be harder to find in a store-bought stand.
Two things to keep in mind: a homemade stand works best for small and midsize screens, and it still needs an anti-tip strap if you have kids or pets. For a large or heavy TV, a commercial TV stand or a wall mount rated for that weight is the safer solution.
Wrapping up
At the end of the day, there’s no single “right” way to stand a TV without legs. The best option depends on your space, your budget, and whether you’re comfortable drilling into the wall.
If you just need a quick replacement, a universal base gets the job done. If flexibility matters, go with a swivel or floor TV stand. And if you’re after the cleanest look possible, a wall mount is hard to beat.
If you like hands-on projects, you can even build your own wood stand, as long as the bracket is designed and rated for your TV. Whatever option you choose, double-check your TV’s VESA pattern and weight rating before buying any hardware. A stand that’s compatible with your TV will always be safer than trying to improvise a solution. And if you’d rather skip the drilling and heavy lifting, our technicians can mount your TV and handle the entire setup in one visit.
FAQs
Can you remove the legs from a TV, or buy replacement legs separately?
Yes. Most original TV legs are attached with a few screws and can be removed without special tools. Once the screws are out, the legs usually pull straight off the frame. Replacement legs may be available from the TV manufacturer or a third-party seller, but you need to check that they match your exact model. A universal TV base is often easier to find because it attaches to the VESA mounting holes on the back of the TV.
Do you have to use TV legs at all?
No. Legs are just one way to support a TV through its VESA mounting holes. A wall mount, tabletop base, or floor TV stand does the same job, and for a lot of setups, does it better.
Can I put a TV on a regular table if it doesn't have legs?
You can, as long as the table is wide enough to hold the TV’s full footprint and sturdy enough for its weight. It won’t be as secure as a purpose-built stand, so it works best as a short-term fix rather than a permanent setup.
Can you mount a TV without wall studs?
It depends on the wall type and the mounting system. Some mounts can be installed on concrete, brick, or drywall with hardware specifically rated for that surface and the TV’s weight. For a typical drywall installation, attaching the mount to studs is usually the safest option. Always follow the manufacturer’s instructions rather than using standard drywall anchors.
Last Updated on September 29, 2026