Looking to install a smart thermostat? Our team at Geeks on Site created this guide to help you choose the right model, prepare for smart thermostat installation, and set up your new device quickly and efficiently. Follow these steps to enjoy a smarter, energy-efficient home.
Understanding Smart Thermostats
Smart thermostats are transforming the way we manage our home’s climate. With remote access, we can control our HVAC system from anywhere — whether we’re at work, on vacation, or relaxing on the couch. Adjusting temperature settings remotely is just the beginning.
One of the biggest advantages is energy efficiency. These devices use advanced algorithms to optimize heating and cooling, ensuring your home stays comfortable without wasting energy. This not only enhances comfort but can significantly reduce utility bills.
Additionally, smart thermostats offer valuable insights into energy usage, helping you identify patterns and make smarter decisions to reduce consumption. Installing one is a wise investment for both your home’s efficiency and your wallet.
Selecting the Right Smart Thermostat
Choosing the right smart thermostat is key to a successful installation. Focus on features that best suit your home and preferences. Some models adapt to your habits, learning your temperature preferences over time and automatically adjusting settings to suit your lifestyle. Others are designed for seamless integration with smart home systems, offering enhanced automation and voice control options.

No matter which model you select, ensure that the installation process aligns with your DIY skills. If it feels too complex, we at Geeks on Site are always here to help with professional installation.
Pre-Installation Checklist
Before starting, gather all necessary tools and materials:
- Drill/driver for securing the thermostat and wall plate
- Screwdrivers for removing the old thermostat and attaching the new one
- Drywall anchors for support if needed
- Painter’s tape to temporarily secure wires and labels
Having the right tools simplifies the process and helps prevent damage to your equipment.
Checking Compatibility with Your HVAC System
Before installation, verify that your HVAC system is compatible with your new thermostat. Confirm that your existing wiring matches the thermostat’s requirements and that your system specifications align with the device. If you’re unsure, we recommend consulting a professional technician.
Safety First
Safety is critical when working with electrical components. Always turn off the power to your HVAC system at the circuit breaker before starting. Use a non-contact circuit tester to confirm the power is off. Keep pets and children away from the area, wear gloves, and ensure you have adequate lighting while working.
Removing the Old Thermostat
With the power off, carefully remove the old thermostat. Label each wire as you disconnect it to make reconnection easier. Taking a photo of the existing wiring setup is a helpful reference.
Installing the New Thermostat Base
Next, install the new thermostat base. Use a level to ensure correct placement, mark screw holes before drilling, and use drywall anchors if needed. A properly installed base ensures the thermostat works correctly and looks neat.
Connecting the Wires
Reconnect the wires to their correct terminals based on your labels or reference photo. If any wires are damaged, strip and clean them before connecting. Double-check that all connections are secure.
Mounting the New Thermostat
Attach the thermostat faceplate to the base, ensuring it clicks securely into place. This step is simple but essential for proper functionality.
Powering Up and Testing
Restore power at the circuit breaker and check if the thermostat display turns on. Adjust the temperature settings and run a quick test of your heating and cooling systems to confirm everything is working.
Connecting to Wi-Fi and Setup
For full functionality:
- Enter your Wi-Fi credentials
- Perform software updates
- Position the thermostat within range of your router
A stable connection ensures you can control your thermostat remotely and access energy usage reports.
Setting Up Smart Features
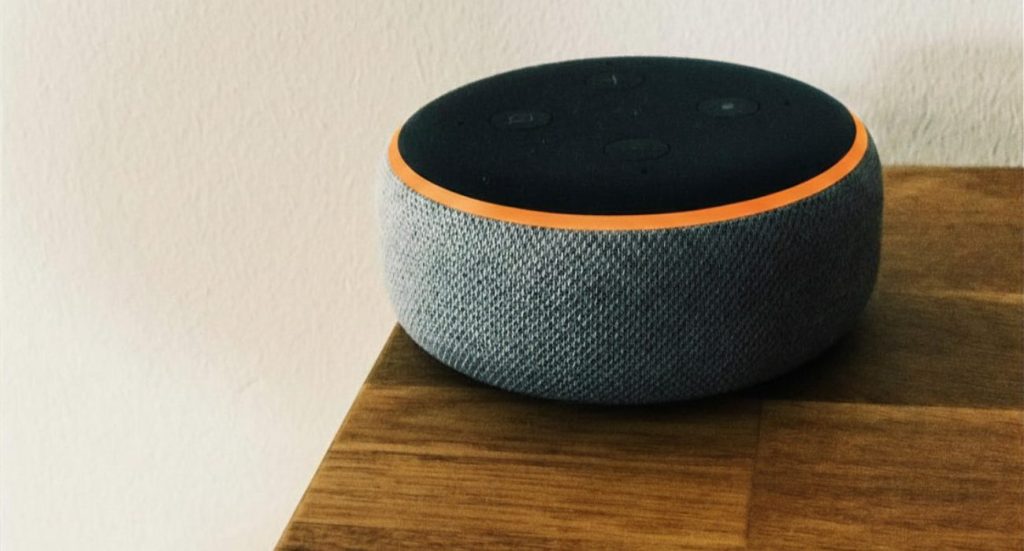
Once connected, you can control your thermostat from anywhere via a mobile app. Smart features like geofencing can adjust temperature based on your location, and integration with voice assistants like Google Home or Alexa makes control even more convenient.
Troubleshooting Common Issues
Power Problems: Check the breaker, wire connections, and battery status.
Connectivity Issues: Confirm the correct Wi-Fi password and signal strength.
HVAC Response Issues: Ensure proper wiring and thermostat placement.
When to Seek Professional Help
While DIY smart thermostat installation can be rewarding, there are times when professional help is the safest choice; especially with complex wiring or HVAC systems.
Our team at Geeks on Site offers expert installation services to ensure your thermostat is set up correctly and efficiently.
Learn more about our smart home installation services here.
DIY Tips for Success
- Gather all necessary tools before you start.
- Refer to photos and labels when connecting wires.
- Double-check all connections.
Following these tips helps ensure your DIY thermostat guide is smooth and successful.

Summary
Installing a smart thermostat is one of the easiest and most impactful upgrades you can make for your home. By following this guide, you’ll enjoy greater comfort, energy savings, and convenience. And if you ever need help, Geeks on Site is here to ensure your installation is done right.
Ready to take the next step? Contact Geeks on Site to schedule your smart thermostat installation today.
Last Updated on November 26, 2025