TL;DR: To connect Alexa to a new Wi-Fi network, open the Alexa app, select your Echo device, and choose the option to change its Wi-Fi network. Follow the prompts to select the new network and enter your Wi-Fi password. Once your Echo reconnects, test it with a simple Alexa command.
Before you start
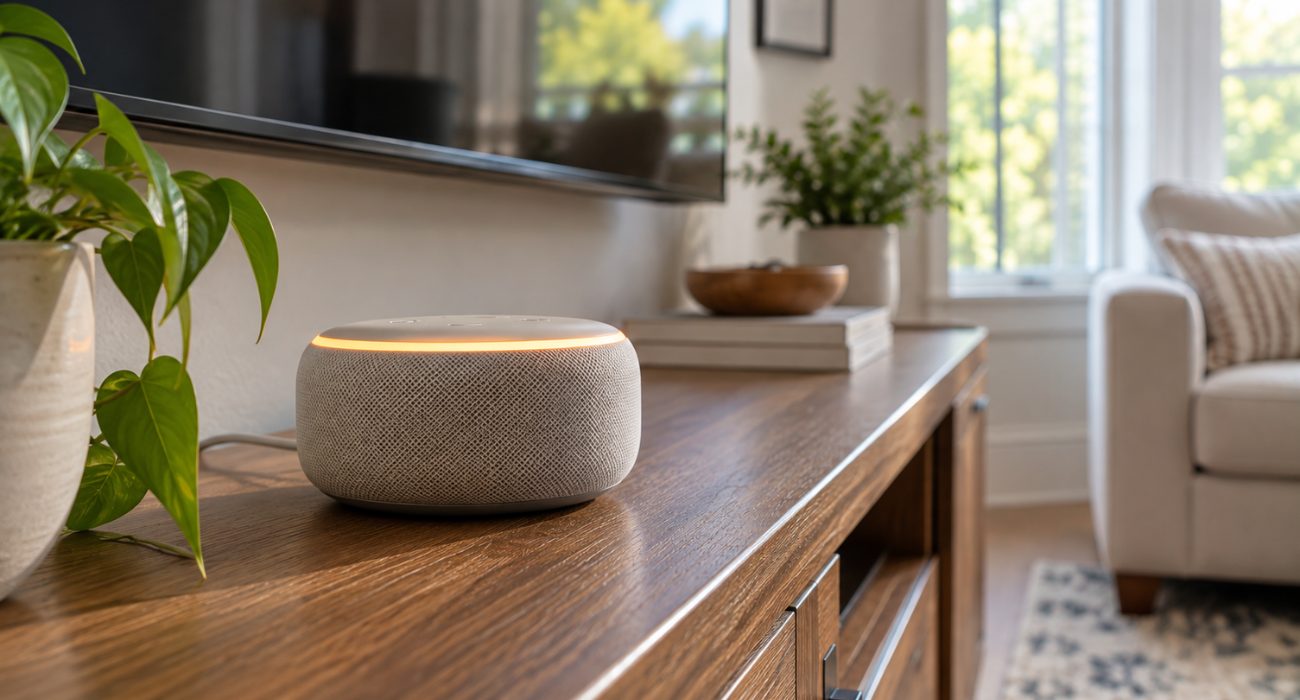
Grab your new network name and Wi-Fi password first; you’ll need both during the connection process, and passwords are case sensitive. Make sure your Alexa device is plugged in and keep Bluetooth enabled on your phone while the app walks you through reconnecting it. You don’t normally need to disconnect other Bluetooth devices unless the app specifically asks you to.
As a quick check, ask, “Alexa, are you connected to the internet?” If it responds normally, the Echo is still online. You may not need to change anything unless you’re switching it to a different network.
How to connect Alexa to a new Wi-Fi network
Reconnecting an Amazon Echo takes just a few minutes once you know where to tap, and the steps below cover the current version of the Alexa app.
1. Open the Alexa app
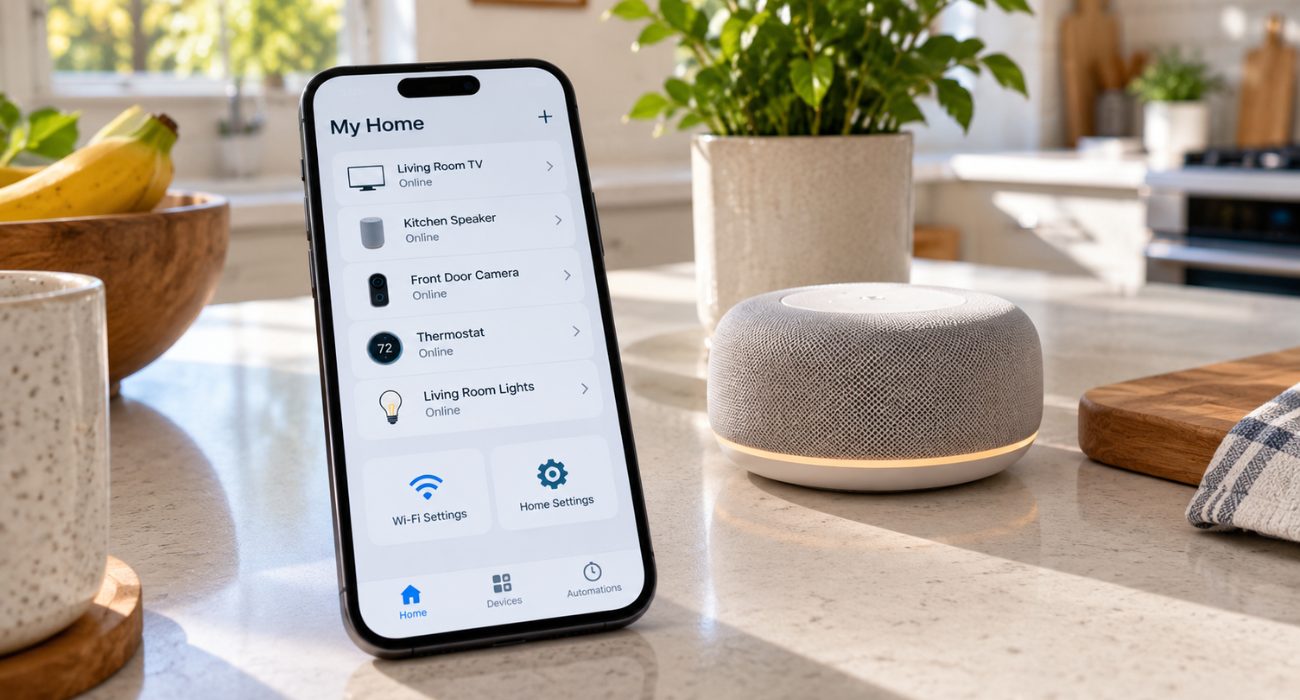
Open the app on your phone or tablet and sign in with the Amazon account linked to your Echo. If you haven’t opened the app in a while, update it first so you’re working with the latest version.
2. Go to your devices
Tap Devices, then select the Echo device you want to reconnect. Depending on your version of the app, you may see your Echo devices grouped together or listed with your other smart devices.
3. Open the device settings
Select your device and open Device Settings. Look for the option to Change or remove a Wi-Fi network.
4. Choose the new Wi-Fi network
Tap Change, then follow the instructions in the app. If your new Wi-Fi network doesn’t appear automatically, which can happen with hidden networks, choose Join another Wi-Fi Network and enter the network information manually.
5. Put your Echo into setup mode
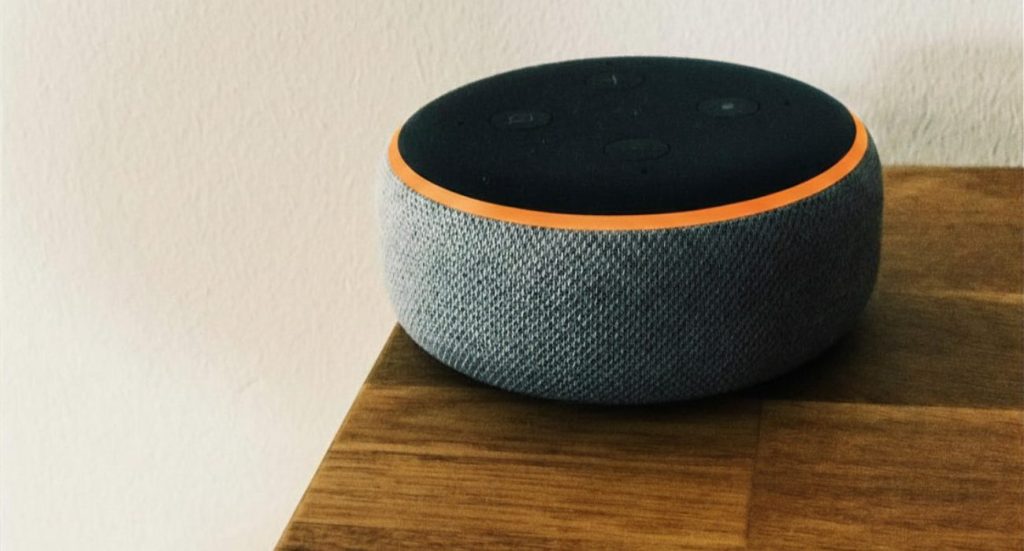
The Alexa app will tell you if your Echo needs to enter setup mode. On many Echo and Echo Dot models, you’ll press and hold the Action button until the ring light turns orange. That orange light means the device is ready to connect. Other models use a slightly different process, so follow the instructions shown for your specific device rather than pressing buttons ahead of time.
6. Connect to the new network
Select your new Wi-Fi network and enter the password when prompted. Then give the device a moment to connect. When setup is complete, the orange light should turn off and the app will let you know the device is ready.
7. Confirm the connection worked
Ask, “Alexa, what’s the weather?” A normal answer is an easy way to confirm the connection worked. If your Alexa device doesn’t respond or says it can’t connect, try the troubleshooting steps below before starting the whole setup process again.
Do the steps change by Echo model?
The overall flow is the same across Echo devices, but the exact button or screen you’ll use to enter setup mode does shift depending on the model you own. If you’re not sure which generation you own, you can check the device information in the Alexa app before following model-specific instructions.
| Echo device | What changes |
| Echo and Echo Dot | The Alexa app guides you through setup and may ask you to use the Action button until the light turns orange. |
| Echo Pop | Follow the prompts for your specific device in the Alexa app; don’t assume the button sequence is the same as an Echo Dot. |
| Echo Show and other Echo devices with a screen | Wi-Fi settings can be changed directly from the device’s touchscreen. |
| Older Echo models | Button layouts and setup steps vary by generation, so use the instructions shown for that exact model. |
What to do if Alexa won’t connect
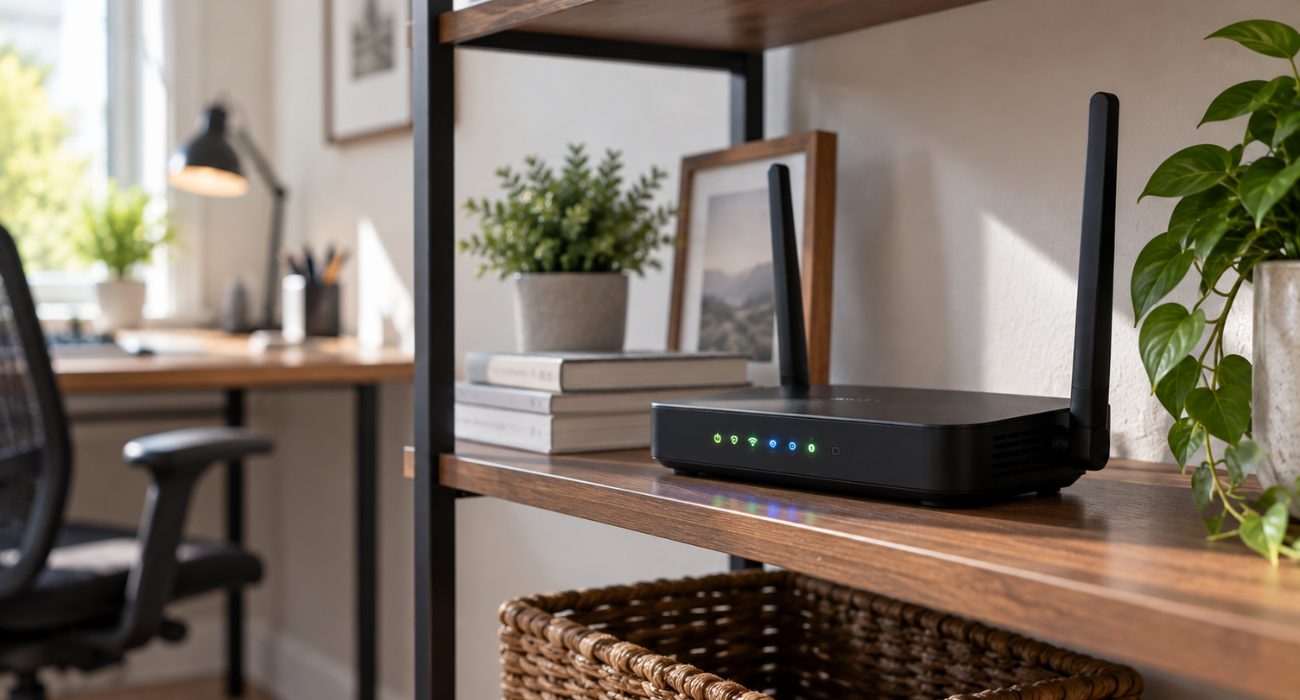
Most connection failures come down to something small. Before you assume your Echo needs replacing, work through these checks in order.
Start with the password. Wifi credentials are case sensitive, and a single miscapitalized letter is enough to block the pairing. Next, restart the Echo itself: unplug it, count to thirty, and plug it back in before trying to reconnect it again. If that doesn’t move the needle, restart your router too, especially if your phone or laptop have also been acting up on the same network.
A few helpful tips if it still won’t connect:
- Keep your phone connected to the Wi-Fi network you’re setting up. If it keeps jumping over to cellular data during setup, temporarily turning mobile data off may help.
- If your router uses separate names for its 2.4 GHz and 5 GHz networks, try the other band. Compatibility varies by Echo model, and one network may also have a stronger signal where the speaker is located. If you’ve enabled MAC address filtering on your router, make sure the Alexa device isn’t being blocked there.
- Move the Echo closer to the router just for setup, then return it to its usual spot once it’s paired.
- Update the app if you haven’t used it in a while.
If the speaker still won’t connect after all of that, the issue is usually somewhere in the router’s configuration rather than the Echo itself, and that’s the point where a lot of people end up calling in help rather than guessing further. Geeks on Site technicians handle this kind of wireless network troubleshooting regularly, whether the fix turns out to be a router setting, a dead zone in the house, or the Echo needing a full factory reset.
If the Echo still won’t connect, a factory reset is the last step you’d try. The button combination varies by model and generation, so follow our guide on how to reset an Alexa Echo Dot before wiping the device.
Keep your smart home network secure
Once Alexa is back online, take a minute to check the Wi-Fi network it’s joining. Use a strong, unique password, keep your router’s security features up to date, and consider putting smart devices on a separate guest or IoT network if your router supports one.
If the device tends to drop offline later, placement matters too. Keep it away from obvious sources of wireless interference, such as microwaves, and avoid tucking either the Echo or router behind large furniture or other electronics.
Wrapping up
Changing Alexa to a new Wi-Fi network usually comes down to a few steps: open the app, choose the speaker you’re updating, select the new network, and follow the prompts to reconnect it. If it doesn’t come back online right away, double-check the password and router connection before resetting anything.
If the problem turns out to be your home network rather than Alexa itself, Geeks on Site can help troubleshoot Wi-Fi issues and reconnect smart devices throughout your home.
FAQs
Does Alexa automatically connect to wifi?
Alexa can reconnect automatically to a Wi-Fi network it already recognizes. If you’ve replaced your router but kept the same network name and password, your Echo may reconnect without additional setup. If the network name or password changed, you’ll usually need to reconnect Alexa to the new network.
Why can't Alexa find my wifi network?
First, make sure the network is actually appearing on another device, such as your phone. If your router uses separate 2.4 GHz and 5 GHz network names, try the other one. You can also move the Echo closer to the router during setup and restart both devices before trying again.
Why does Alexa say "connected but no internet"?
This usually means the Echo connected to your Wi-Fi network but the network itself isn’t reaching the internet. Check another device on the same Wi-Fi. If that device is offline too, restart your router or check with your internet provider before troubleshooting Alexa.
Can I connect Alexa to wifi without using my phone?
If you have an Echo Show or another supported Echo device with a screen, you can change its Wi-Fi settings directly on the device. For Echo speakers without a screen, use the app on a compatible mobile device.
Last Updated on September 11, 2026