If you’re wondering how to install Ring Floodlight Cam on your own, you’re not alone. At Geeks on Site, we often help homeowners set up smart security devices like this one. With the right preparation and safety steps, Ring camera setup can be a manageable DIY project. But there are times when calling a professional is the smarter choice; and we’ll walk you through both options here.
Preparing for Installation
Before diving into the installation, we always emphasize safety first. Turn off the power to the area where you’ll be working by switching off the circuit breaker. Working with live wires can be dangerous, so this step is essential.
Here’s what you’ll need before you start:
- Screwdriver
- Ladder
- Wire nuts
- The mounting hardware that comes with your Ring Floodlight Cam
Gathering these tools in advance makes the floodlight cam install process smoother. If electrical work feels intimidating, or if you’re unsure about wiring, it’s perfectly fine to call in our team for professional help.
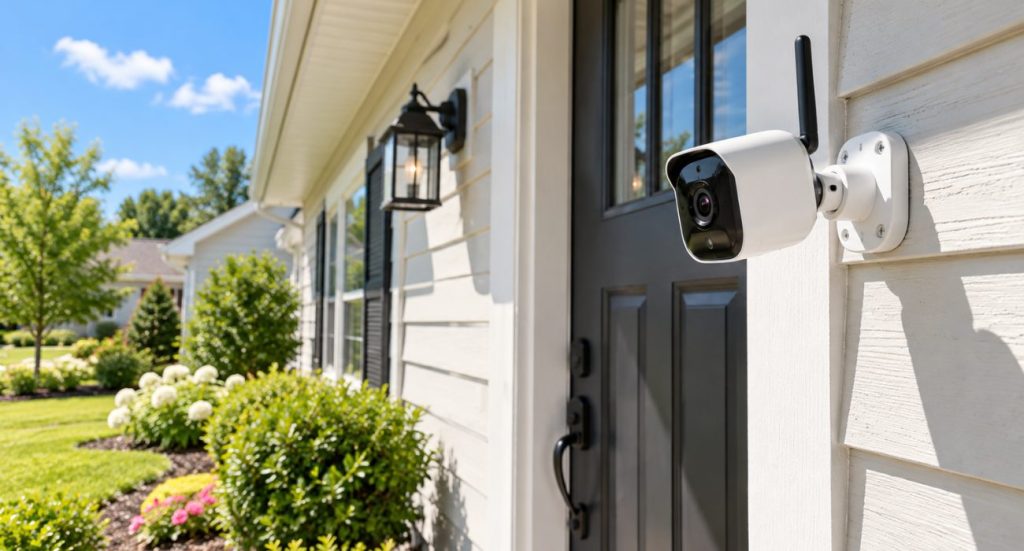
Before you mount it, make sure you’ve picked the best spot for your Floodlight Cam. Driveways and backyards work best, at roughly 9–10 ft high
Removing the Existing Fixture
The first step is removing any existing light fixture where your new Floodlight Cam will go:
- Double-check that the power is off.
- Use your screwdriver to remove the old fixture.
- Carefully disconnect the wires and make a note of how they’re configured.
Also, remove the old mounting bracket so you have a clean surface for the new installation. Taking your time here helps ensure a seamless transition to the new camera.
Installing the Mounting Bracket
Next, install the new mounting bracket. Align the mounting posts with the holes and make sure the bracket is level. Proper alignment is key for stability and camera performance.
Use the provided hook to hang the camera temporarily while connecting the wires; this makes the process easier and safer. After the wiring is complete, secure the mounting posts with the screw cap nuts.
For added weatherproofing, we recommend sealing around the junction box with silicone caulk. This small step helps protect your Ring security camera mount from moisture and extends its lifespan.
Wiring the Floodlight Cam
Wiring is the most critical part of the installation. Ensure your home’s voltage (100-240 VAC) matches the camera’s requirements. Then:
- Connect the earth wire to the fixture.
- Match the ground, neutral, and hot wires using wire nuts.
- Use the markings (N for neutral, L for line) on the device for guidance.
- Gently tug each wire to confirm secure connections.
Avoid connecting the camera to a dimmer switch or timer, as this can cause performance issues. Once the wiring is done, you’re ready to mount the camera securely.
Securing the Floodlight Cam
Hang the Floodlight Cam using the hook, align the mounting posts with the bracket, and press them together. Use the provided screwdriver to tighten the screw cap nuts and make sure everything is firmly attached. Double-check that the bracket’s “FRONT” label faces outward, this ensures the camera points in the right direction.
Setting Up the Ring App
Once the camera is mounted, it’s time for Ring camera setup in the app.

Download the Ring app on your smartphone, create or log in to your account, and scan the QR code on the back of your device. If scanning doesn’t work, you can enter the PIN manually.
Updating the app before setup ensures the process goes smoothly.
Connecting the Camera to WiFi
Connecting to WiFi is essential for your camera to function properly. Keep your phone close to the camera during setup and make sure your WiFi signal is strong.
Here’s how:
- Press the setup button on your camera.
- Connect to the temporary WiFi network it creates.
- Choose your home WiFi network in the app and enter your password.
Watch for light patterns and audio prompts that guide you through the process. Once connected, you’ll be ready to customize your settings.
Customizing Settings
The Ring app lets you fine-tune your camera to match your needs:
- Adjust motion detection sensitivity.
- Set up custom motion zones.
- Enable or disable motion-activated lights.
- Create schedules for when the lights should turn on or off.
These features help ensure your smart camera installation is optimized for your home’s security layout.
Testing Your Camera
Before calling it done, test your Floodlight Cam. Check the live video feed and walk in front of the camera to verify motion detection and lighting. If the lights don’t activate, reboot the device through the app. Persistent issues may require professional troubleshooting.
When to Call a Professional
While many homeowners can handle floodlight cam install as a DIY project, there are times when hiring an expert is best. Some local codes require professional installation, especially for security systems. If your wiring is outdated or you’re integrating multiple smart devices, our team at Geeks on Site can ensure everything is done safely and correctly.
We’ve been helping homeowners with smart home installations for over 20 years. From wiring and mounting to complete system integration, we make sure your devices work seamlessly together. Learn more about our smart home services here.
Final Thoughts
Installing a Ring Floodlight Cam is a great way to boost your home security, and with the right steps, it’s a project many homeowners can tackle themselves. But if you’re ever unsure or want to guarantee a professional finish, we’re here to help.
At Geeks on Site, we specialize in smart camera installation and support, so you can enjoy peace of mind knowing your home is protected and your devices are working perfectly.
Last Updated on August 6, 2026