TL;DR: To set up a gaming console, connect it to your TV with HDMI, pair the controller, connect to Wi-Fi or Ethernet, sign in to your account, install system updates, adjust your settings, and download your first game. If you have a PlayStation, Xbox, or Nintendo Switch, the overall setup process is very similar.

What you’ll need before setting up your console
You don’t need much to get started, but having everything on hand before you begin saves you from stopping halfway through to dig through a drawer. The list below covers what every console needs, no matter the brand.
- Your gaming console
- A TV or monitor with an open HDMI port
- The HDMI cable and power cable that came in the box
- At least one controller
- A Wi-Fi connection, or an Ethernet cable if you’d rather go wired
- A power outlet close to your TV or gaming area
A few extras aren’t required, but they make life easier down the road: a headset if you plan to play online, extra controllers for local multiplayer, additional storage if you install a lot of games, and a surge protector to keep your console safe from power spikes.
How to set up a gaming console step by step
From here on, the process looks nearly identical across PlayStation, Xbox, and Nintendo. You’ll connect the console, pair the controller, get online, and click through a handful of screens before your first game loads. The menus will look a bit different depending on your brand, but we’ll flag anything worth knowing along the way.
Step 1. Choose the right location

It’s tempting to slide your console into the first empty shelf you see, but taking a minute to choose a good location can help it stay cooler and last longer.
Place your console on a flat, stable surface with plenty of open space around the vents. Modern consoles generate quite a bit of heat, especially during long gaming sessions, so good airflow helps prevent overheating. Try to avoid enclosed cabinets, direct sunlight, nearby heat sources like radiators, or extra dusty spots where the vents can clog over time.
Before you move on to plugging everything in, take a quick look around the room. Make sure you’ll have a comfortable view of the TV, easy access to a power outlet, and, if you’re planning to use Ethernet, enough room to reach your router without stretching the cable across a walkway.
👾 Already have your setup ready and want ideas on how to arrange it? Take a look at our gaming setup ideas and gaming setup accessories guides for inspiration.
Step 2. Connect your console to the TV
This part is one of the simplest steps in the whole process, and most of the time you only need two cables.
- Plug one end of the HDMI cable into your console and the other into an open HDMI port on your TV.
- Connect the power cable to an outlet.
- Turn on your TV and switch to the matching HDMI input. Look for the input that corresponds to the port where you connected the console, such as HDMI 1 or HDMI 2.
- Press the power button on the console itself. Within a few seconds, the setup screen should appear on your TV.
Every console has its own version of this first screen, but from here PlayStation, Xbox, and Nintendo all guide you through the rest with on-screen instructions.
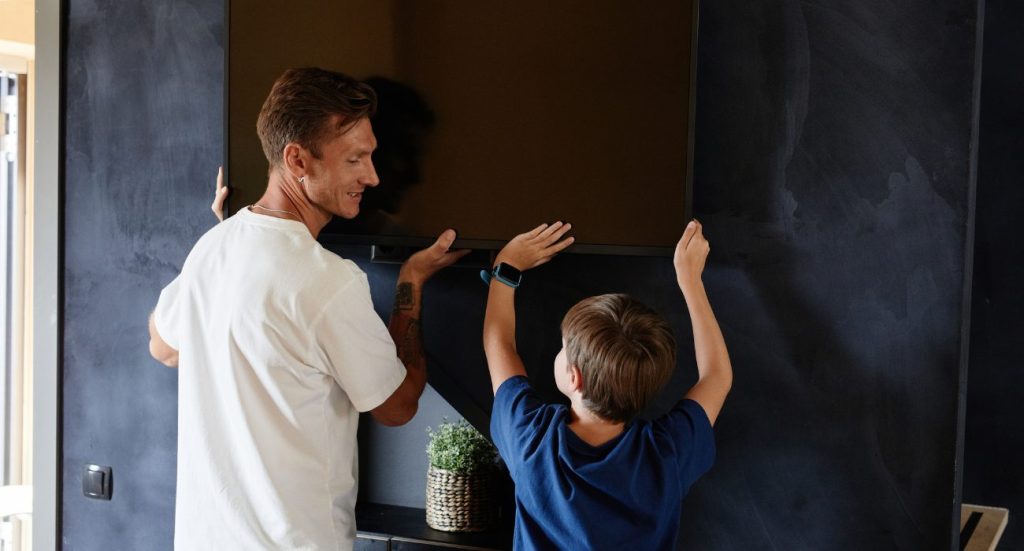
Setting up a whole new entertainment space? Mounting your TV at the right height makes long gaming sessions a lot more comfortable, and it’s something our TV Mounting service can handle for you if you’d rather skip the drilling.
Step 3. Pair your controller

Before you go any further, your console needs to recognize the controller you plan to use. The exact process depends on which system you have, but the setup screen will usually show you what to press or connect.
On PlayStation, you will normally connect the DualSense controller to the console with a USB cable and press the PS button. Xbox controllers can be paired by pressing the Pair button on both the console and controller. On Nintendo Switch, attach the Joy-Con controllers to the sides of the system, or follow the on-screen instructions if you are using a wireless controller.
Once pairing is complete, the controller should reconnect automatically whenever you turn on the console. If it does not, the official pairing guides below can walk you through the process:
Step 4. Connect to Wi-Fi or Ethernet
Getting your console online gives you access to game downloads, system updates, online play, streaming apps, and digital stores.
You’ll usually get to pick between two options:
- Wi-Fi works well if your console sits far from the router or you simply do not want another cable running across the room.
- Ethernet provides a more stable connection and can deliver faster, more consistent downloads. It is especially useful for online gaming or large game installations.
If running a cable to your console is not realistic, do not stress over it. Plenty of people play over Wi-Fi every day without issues, especially when the signal is strong. Once you are connected, your console will probably check for system updates before moving on to the next step.
⚡ Curious if your home connection is fast enough? Our guide on good internet speed for gaming breaks down what you actually need.
Step 5. Sign in or create your account
Next up is signing in to your console’s account system. Your account is what gives you access to digital purchases, cloud saves, online multiplayer, and any downloadable content down the line.
Each platform uses its own account system: a PlayStation Network account for PlayStation, a Microsoft account for Xbox, and a Nintendo Account for Nintendo Switch. If you already have one, sign in with your email address and password. If this is your first console, the setup screens will walk you through creating a new account.
The registration process looks a little different on each platform, but the on-screen directions are easy to follow. Once you are signed in, you can download games, manage purchases, and access the online features available for your console.
Step 6. Install system updates
Don’t be surprised if your console asks for an update before you can install your first game. It’s one of the first things every new system does, and while it’s tempting to skip it, letting it finish now can save you headaches later.
These updates patch security issues, fix bugs, add new features, and make sure your console plays nicely with the newest games and accessories. Depending on your internet connection, the update might finish in just a few minutes or take a little longer.
Keep the console plugged in while it updates, and do not turn it off in the middle of the process. Interrupting a system update can cause installation errors or prevent the console from starting correctly.
Step 7. Adjust video, audio, and privacy settings

Once your console is up and running, take a few minutes to make it yours. The default settings work fine for most people, but a couple of small tweaks can make a real difference.
Worth checking:
- Display resolution matched to your TV
- HDR if your TV supports it
- Game Mode on the TV for less input lag
- Audio output for headphones, TV speakers, or a sound system
- Privacy settings that control who can view your activity or message you
- Parental controls if children will use the console
You don’t need to touch every option on day one. If something doesn’t make sense yet, leave it on default and come back to it later once you’re more familiar with the system.
✨ Setting up a full home theater around your new console? Our Home Theater Installation service can help you get the sound and screen dialed in.
Official display settings, by platform:
Step 8. Install your first game

Now for the part you’ve been waiting for.
- If you have a physical game and your console includes a disc drive, insert the disc and follow the prompts on screen. On Nintendo Switch, insert the game card into the slot at the top of the console.
- If you purchased a digital game, open the console’s store or game library and start the download.
Even physical games may need an additional download or update before they are ready to play, and that is completely normal. Before you install a bunch of titles, it’s worth glancing at your available storage too. Leaving some free space makes room for future updates without running into trouble later.
Once the install finishes, you’re all set to launch the game and start playing.
Console-specific tips
The setup itself is nearly identical across platforms, but each console has a few extras worth knowing about once you’re up and running.
🟦 PlayStation
Turn on HDR if your TV supports it for a noticeably better picture. It’s also worth checking for DualSense controller updates now and then, since Sony releases firmware improvements from time to time. If you plan on installing a lot of games, take a look at your storage settings early so you don’t run out of room later.
🟩 Xbox
Quick Resume lets you jump between games without losing your place, and Smart Delivery makes sure you always get the best version of a game for your specific console. If your TV supports higher refresh rates like 120Hz, turning that on makes compatible games noticeably smoother.
🟥 Nintendo Switch
If you’ll mostly play on the TV, get into the habit of making sure the Switch is fully seated in the dock before powering it on. It’s also a good idea to keep the Joy-Con controllers updated, especially if you notice connection issues.
Common gaming console setup problems
 Most setups go smoothly, but if something doesn’t work right away, here’s where to start.
| Problem | What to try first |
| No picture on the TV | Check that the HDMI cable is fully plugged in and your TV is set to the right HDMI input. |
| Controller won’t connect | Plug it in with the original USB cable and restart the pairing process. |
| Can’t connect to Wi-Fi | Double-check your password, move closer to the router, or restart your modem and router. |
| Games download very slowly | Switch to Ethernet if you can, or try again when your network is less busy. |
| No sound | Confirm the TV volume is up and the right audio output is selected in your console’s settings. |
| Console feels very hot | Make sure the vents aren’t blocked and the console has room to breathe. |
If none of that clears things up, the problem might need a closer look. That’s usually where professional help saves you time and gets things working again without trial and error.
Final thoughts
Setting up a new console doesn’t need to be complicated. Connect it to your TV, pair your controller, get online, install any updates, and download your first game. Before you know it, you’ll be ready to play.
Once everything’s working, all that’s left is picking a game and enjoying it. And if something along the way doesn’t go as planned, most issues have a quick fix waiting in the troubleshooting table above.
FAQs
Can I set up a gaming console without internet?
You can get through some of the initial steps offline, but connecting to the internet lets you install updates, sign in or create your account, download digital games, and reach online features. It’s worth doing before you dive in.
Why does my new console need a system update right away?
Updates fix bugs, patch security gaps, add features, and keep your console compatible with the newest games and accessories. It’s best to let it finish before you start playing.
Should I use Wi-Fi or Ethernet for gaming?
Both work fine. Ethernet tends to be more stable and gives you faster downloads with less lag during online play. If running a cable isn’t an option, a strong Wi-Fi signal works well for most players.
Can I play a game while another one downloads in the background?
In most cases, yes. Modern consoles let you play one title while another downloads at the same time, though your gameplay or download speed might slow down a bit depending on your connection.
Last Updated on July 22, 2026