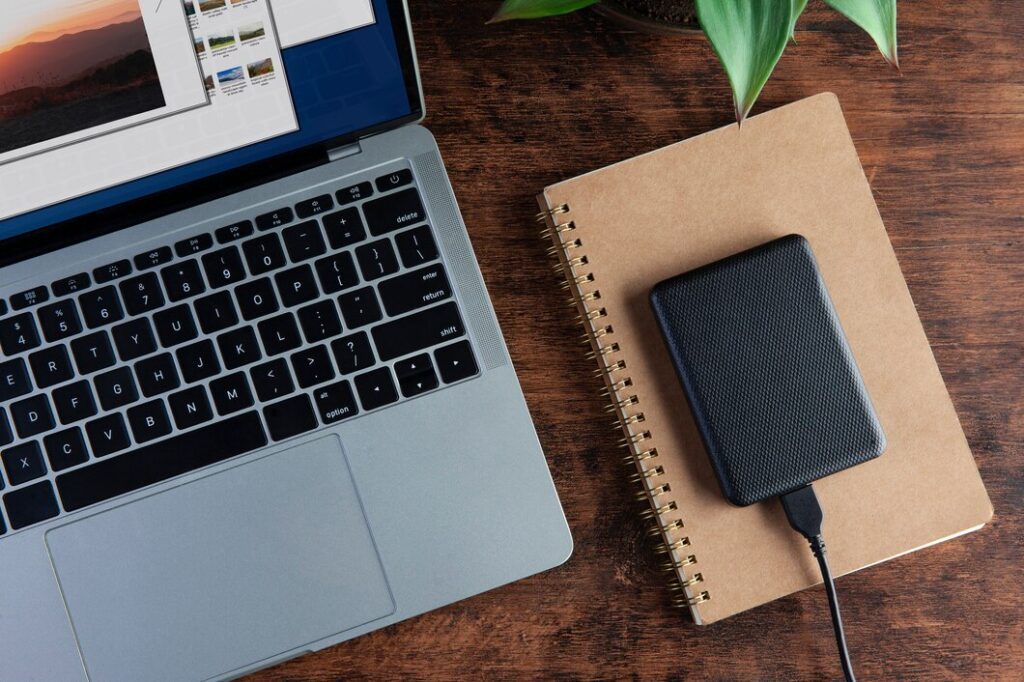
Your computer’s hard drive is one of its most essential components. It stores everything: your documents, photos, videos, apps, and even the operating system. Without it, your computer can’t function. But there are times when you may need to remove a hard drive.
Removal of hard drives is not a difficult task if done properly. If done in an unsafe manner, this could harm your computer and put your personal information at risk. Keep reading for the proper steps or contact the experts at Geeks on Site for assistance.
Reasons to remove a hard drive
Here are the most common reasons why people remove their hard drives.
- Recycling or Selling Your Computer: Removing the drive protects your data before the computer is reused or disposed of.
- Troubleshooting Problems: If your system isn’t booting properly, removing and testing the drive may help diagnose the issue.
- Transfer data: Sometimes, plugging a hard drive is easier than using file transfers to transfer your data to a new system.
- Prevent data leakage: Many businesses and individuals take precautions to prevent data leakage.
A Guide to Take Out a Hard Drive Without Risk
1. Store your essential files in an extra location.
It’s essential to back up your data before starting any tasks on your laptop. You can save your documents on an external drive, on a USB stick, or in the cloud. You won’t lose anything by mistake during the removal of the package.
2. Turn off the computer and take out the power cord.
Turn your computer on without using any other devices. Unplug the device’s power cord, and if you are using a laptop, remove the battery.
3. Ground Yourself
Static electricity may cause harm to delicate parts without you noticing at once. Before touching anything inside the computer, touch a metal outside part or put on an anti-static wrist strap.
4. Launch the Case panel or Access Panel.
A side panel on a desktop is usually kept in place with screws or latches. There is a panel on the bottom or side of every laptop. Removing the device from a rack or removing its drive trays is a necessary step for servers.
5. Locate the Hard Drive in your system.
A typical desktop case usually has a hard drive on the front side of the case. Laptops typically have it under a specific cover at the side of the machine. Drives that servers can replace on the fly may be identified in the bays.
6. Take out all the connections.
Gently remove the SATA (or IDE) data cable and the power cable. Try not to pull too hard on the wires, and use gentle wiggling to fit the connectors.
7. Remove the screws or latches that secure the camera in place.
Usually, no tools are needed to disassemble or assemble desktops. You will see that the drive in your laptop is installed in a slightly jutting bracket attached to the drive board. In some cases, a server could be asked to push a button or remove some screws from the tray.
8. Hit the slide-out button on the older devices.
Use care when lifting or pulling the drive out of the bay. Avoid contacting the bottom circuit board of the drive.
Conclusion:
Ensuring that your data is erased is still necessary even after removing a hard drive. Having completed the drive, remember to wipe or destroy it safely until you have erased it. For total peace of mind, consider professional services.
At Geeks on Site, we offer secure data destruction and proper e-waste recycling.
FAQs
-
Does removing a hard drive delete everything?
No. Data stays on the drive unless you wipe or destroy it.
-
Is it safe to remove a hard drive myself?
Yes, you can do it by following the correct process. Nonetheless, if you are doubtful, it’s better to ask a professional to prevent losing your data.
-
Can I reuse an old hard drive?
Even if your old computer doesn’t work well, you can still use it for storing files or transferring them to a new one.
-
What’s the safest way to destroy a hard drive?
Use a combination of secure data-wiping software and physical destruction. For sensitive or regulated data, professional services like Geek on Site offer certified destruction.
-
Do laptops and desktops have the same removal process?
The general process is similar, but laptops often require more delicate handling due to their compact design. Always check your model’s manual.
Last Updated on May 13, 2026