TL;DR: Power off your device, then use short bursts of compressed air to clear dust and lint from the USB port. For stubborn debris, use a wooden or plastic toothpick carefully, and never use metal tools or spray liquid directly into the port.
In this guide:
- Signs your USB port needs cleaning
- What you’ll need to clean a USB port
- How to clean a USB port: step by step
- How to clean a USB-C port without damaging the center tongue
- Common mistakes to avoid when cleaning a USB port
- To wrap up
- Frequently asked questions
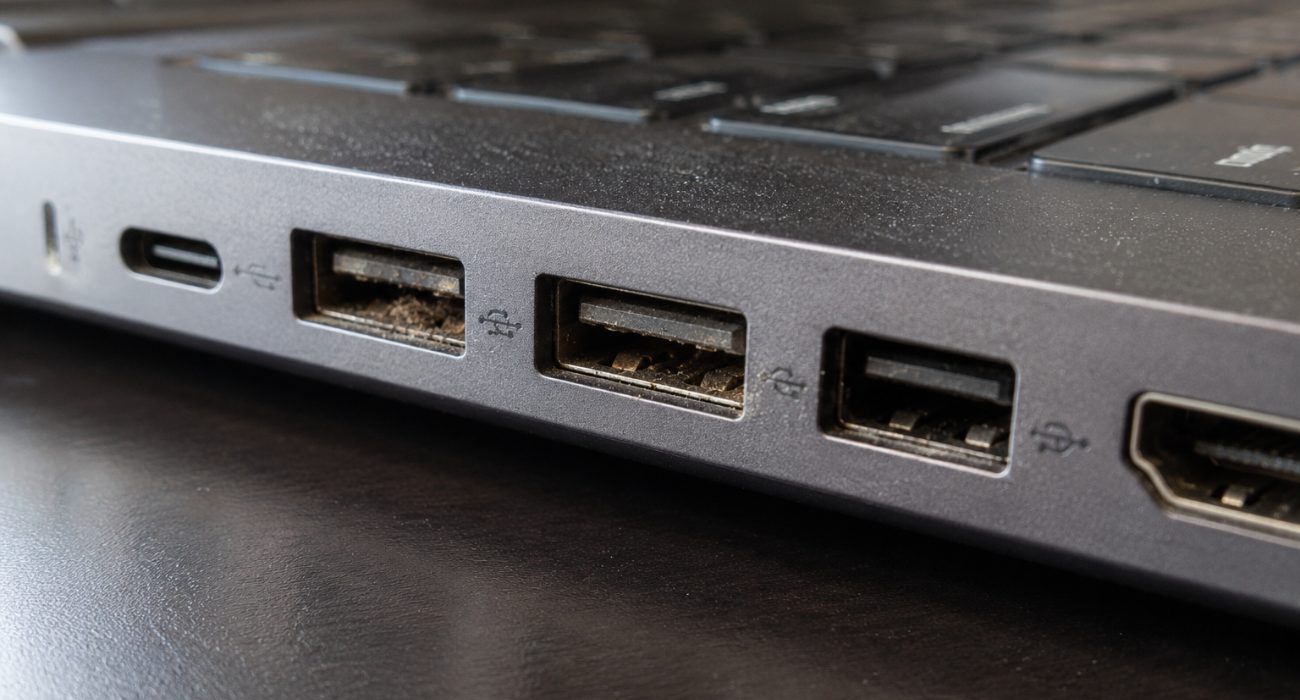
A USB port that won’t hold a connection is often just dirty, not broken. Dust, lint, and debris can build up inside the port over time, especially if you regularly carry your laptop in a bag or backpack. That buildup can keep a cable from seating properly, cause intermittent connections, or even prevent your laptop from recognizing a device or charging it.
In most cases, cleaning the port only takes a few minutes. The important part is knowing what to use and what not to stick inside it because the contacts can bend or scratch more easily than they look.
Signs your USB port needs cleaning
A dirty port doesn’t usually fail all at once. It shows small symptoms first:
- A cable feels loose or won’t click into place the way it used to.
- A device charges slowly, intermittently, or not at all despite being plugged in.
- Your laptop stops recognizing a flash drive, mouse, or webcam that worked fine before.
- You can see lint or dark buildup inside the port when you shine a light on it.
If you’re plugging in a webcam or another peripheral and the computer isn’t detecting it, a quick port check is worth doing before you assume the device itself is broken. If the USB port looks clean but your camera still isn’t detected, our guide to setting up your webcam can help you check the connection and setup process.
What you’ll need to clean a USB port
You don’t need much to clean a USB port. Start with compressed air, since most dirty ports don’t need anything more aggressive. You can find a can at most electronics, office supply, or big-box stores, or order one online.
Here’s what to grab before you start:
-
- Compressed air: Choose a can with a thin nozzle so you can direct short bursts into the port.
- Wooden or plastic toothpick: Use this to gently loosen stubborn lint or debris. Never use a metal tool.
- 90% or higher isopropyl alcohol: Only needed for stubborn residue. You won’t usually need it for basic dust and lint.
- Flashlight: Your phone’s flashlight works perfectly for checking inside the port.
- Lint-free swab: Only needed if you’re dealing with residue that compressed air can’t remove.
- Dry microfiber cloth: Use it to wipe around the outside of the port, not inside it.
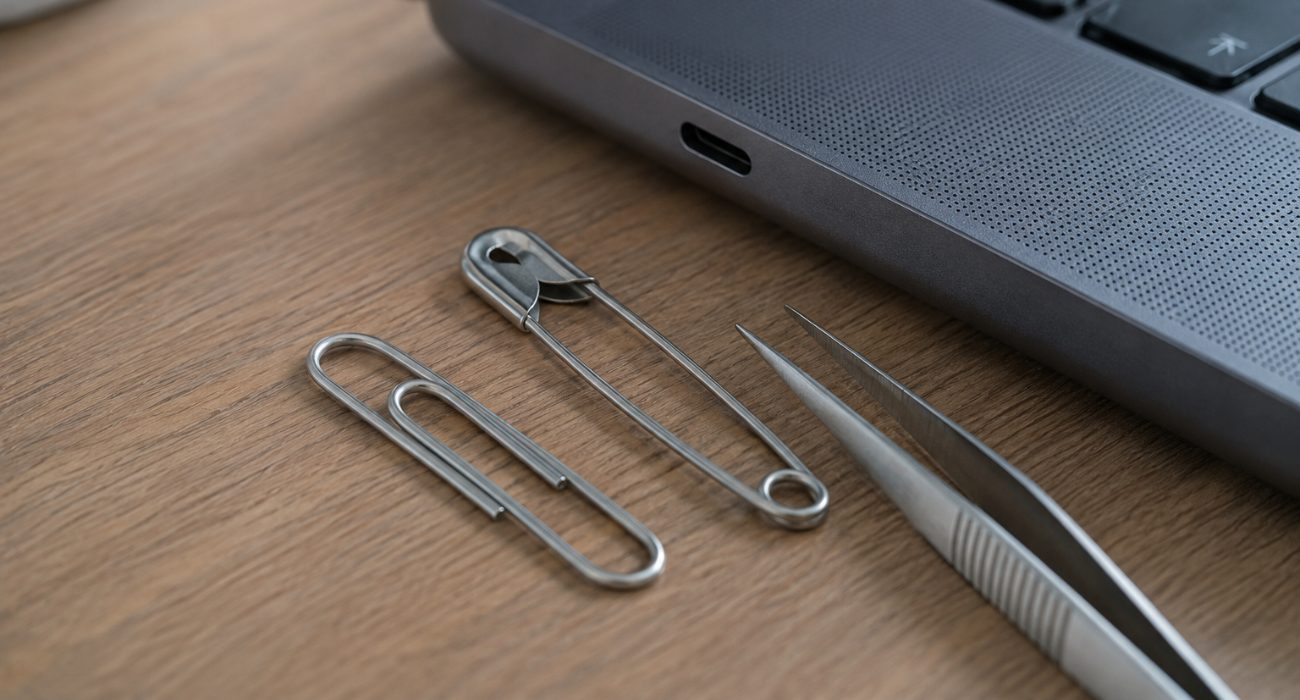
Avoid metal tools such as paper clips, safety pins, or tweezers. They can scratch the inside of the port or bend the small contacts, which can cause permanent damage.
How to clean a USB port: step by step
If this is your first time cleaning a USB port, start with the least invasive option and only move on if the debris won’t come loose.
🔌 1. Power down and unplug
Shut the device off completely, not just to sleep, and disconnect the charger and any cables. If your laptop has a removable battery, take it out too. It’s a simple precaution that keeps a five-minute cleaning job from turning into a much bigger problem.
🔦 2. Inspect the port
Shine a light inside and look for visible lint, dust, or a darker buildup near the back. Sometimes, one compacted piece of lint is all it takes to keep a cable from seating properly.
💨 3. Use compressed air
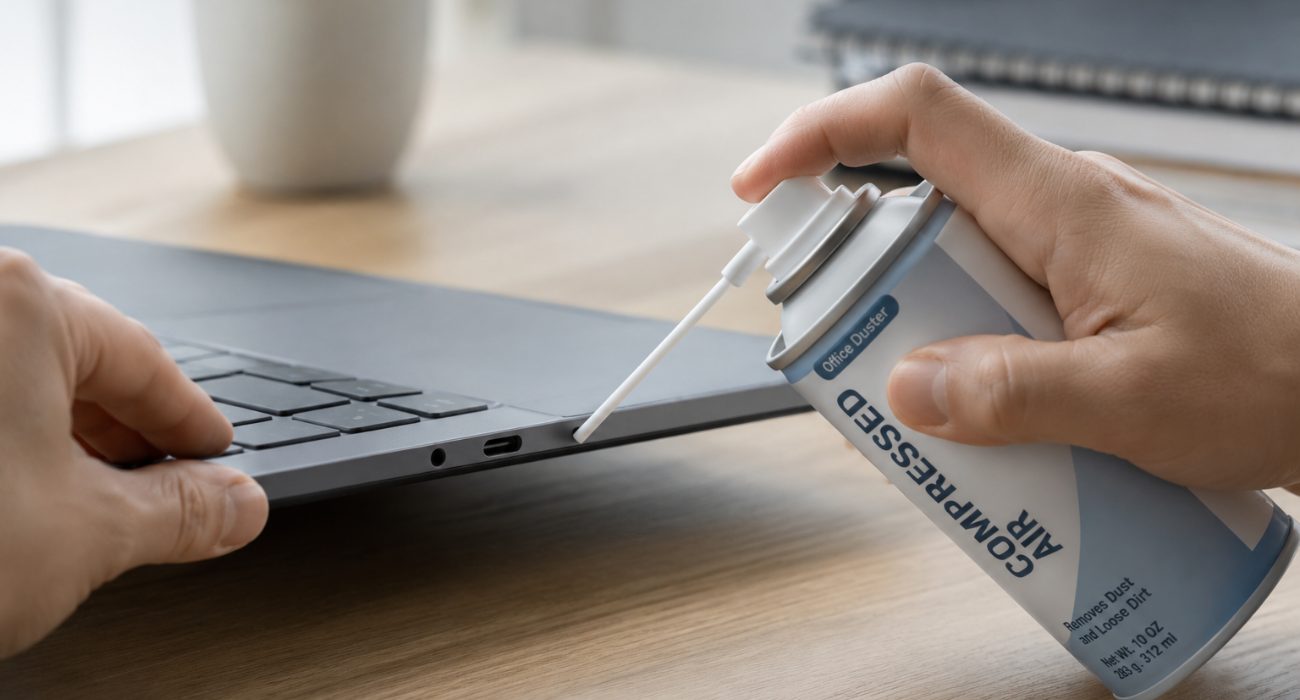
Hold the can upright and use short bursts aimed toward the opening, keeping the nozzle just outside the port rather than inserting it. The goal is to push debris out, not deeper in. Don’t tilt or shake the can while spraying, since that can release liquid propellant instead of air.
🧹 4. Loosen stubborn lint with a toothpick
If air alone doesn’t clear it, use a wooden or plastic toothpick to gently loosen lint along the sides of the port. Keep it away from the center piece and metal contacts, and stop if the debris doesn’t come loose easily.
💧 5. Use isopropyl alcohol only if needed
If there’s still sticky residue after using compressed air and a toothpick, lightly dampen a lint-free swab with 90% or higher isopropyl alcohol. Never pour or spray alcohol directly into the port. Let it dry completely before reconnecting anything or turning the device back on.
How to clean a USB-C port without damaging the center tongue
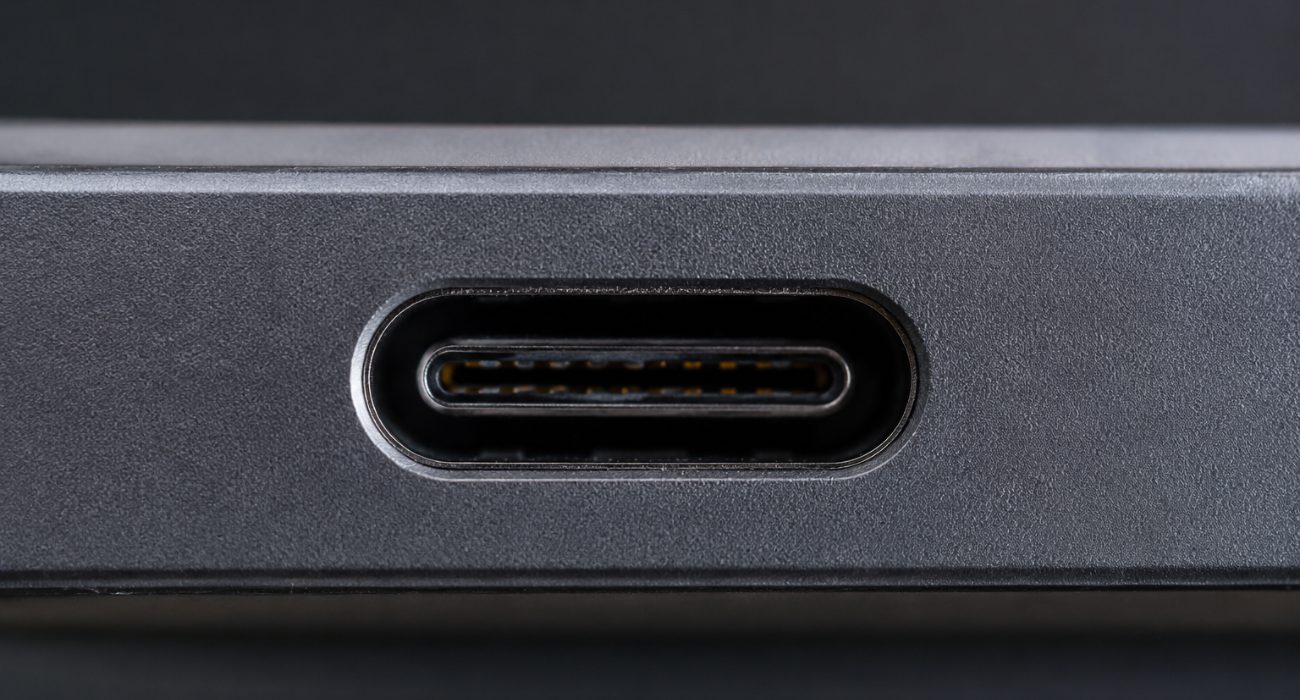
USB-C ports need a lighter touch than older USB-A ports. The connector has a small center tongue that carries most of the pins, and it’s delicate enough that prying against it with a toothpick can bend it out of shape.
For USB-C:
- Stick to compressed air first, and give it more chances to work before reaching for anything solid.
- If compressed air doesn’t clear the debris, avoid prying around the center tongue. Anything that requires scraping or force is better left alone.
- Never use a needle, paperclip, or SIM tool. It’s a common instinct because the opening is small, but that’s exactly the situation where a slip does real damage.
You don’t need to clean your USB ports on a set schedule, either. For most people, checking them every few months is enough. If your laptop spends a lot of time in a backpack or gets used around dust, pet hair, or other debris, just take a look more often, especially if a cable suddenly starts feeling loose.
Common mistakes to avoid when cleaning a USB port
A few cleaning shortcuts can actually make the problem worse:
- Using metal tools. Paper clips, pins, and tweezers scratch or bend the contacts.
- Blowing into the port. Breath carries moisture, and moisture inside a port invites corrosion.
- Spraying liquid directly into the opening. Apply alcohol to a swab, never straight into the port.
- Forcing a toothpick when debris won’t budge. If it’s not coming out easily, stop and try air again instead of pushing harder.
- Reconnecting before it’s fully dry. Give alcohol a few minutes to evaporate completely first.
To wrap up
Cleaning a USB port is usually a small fix: start with compressed air, only move on to a toothpick or isopropyl alcohol if you need to, and never force anything that won’t come loose easily.
Once the port is clean and completely dry, reconnect your cable and see if the connection is back to normal. If it still feels loose, won’t charge, or your computer can’t recognize a connected device, dirt may not have been the problem. Visible damage, bent contacts, corrosion, or signs of liquid inside the port are also good reasons to stop troubleshooting at home.
For a laptop that still won’t charge, our laptop charging troubleshooting guide covers a few other things worth checking. If the problem points to the port or another hardware component, Geeks on Site can diagnose the issue and help with the repair.
Frequently asked questions
How do you know if your USB port needs cleaning?
Look for a cable that feels loose or won’t seat fully, a device that charges slowly or not at all, or a laptop that stops recognizing a flash drive or accessory it used to detect without issue. Visible lint or dark buildup inside the port under a flashlight is the clearest sign.
Is it safe to use compressed air on a USB port?
Yes, just keep the can upright, hold the nozzle just outside the port, and use a few short bursts. Don’t insert the nozzle into the port or tilt the can while spraying.
Is it safe to clean a USB port with rubbing alcohol?
Yes, in small amounts and applied correctly. Use 90% or higher isopropyl alcohol on a lint-free swab rather than pouring or spraying it directly into the port, and let it dry fully before reconnecting anything. Lower concentrations of rubbing alcohol contain more water, which is what you’re trying to keep out of the port in the first place.
Is it worth getting a USB port professionally cleaned?
For simple dust or lint buildup, you can usually clean the port yourself with compressed air. Professional help makes more sense if there’s physical damage, corrosion, or the port still won’t connect after a careful cleaning, since those can point to a hardware problem.
Last Updated on September 9, 2026